

All day play
Share the load of your everyday errands, with voice command, embedded navigation, wireless device chargers, a power back door with a kick sensor, and plenty of boot space for shopping hauls. It’ll make your to-do list a want-to-do list.
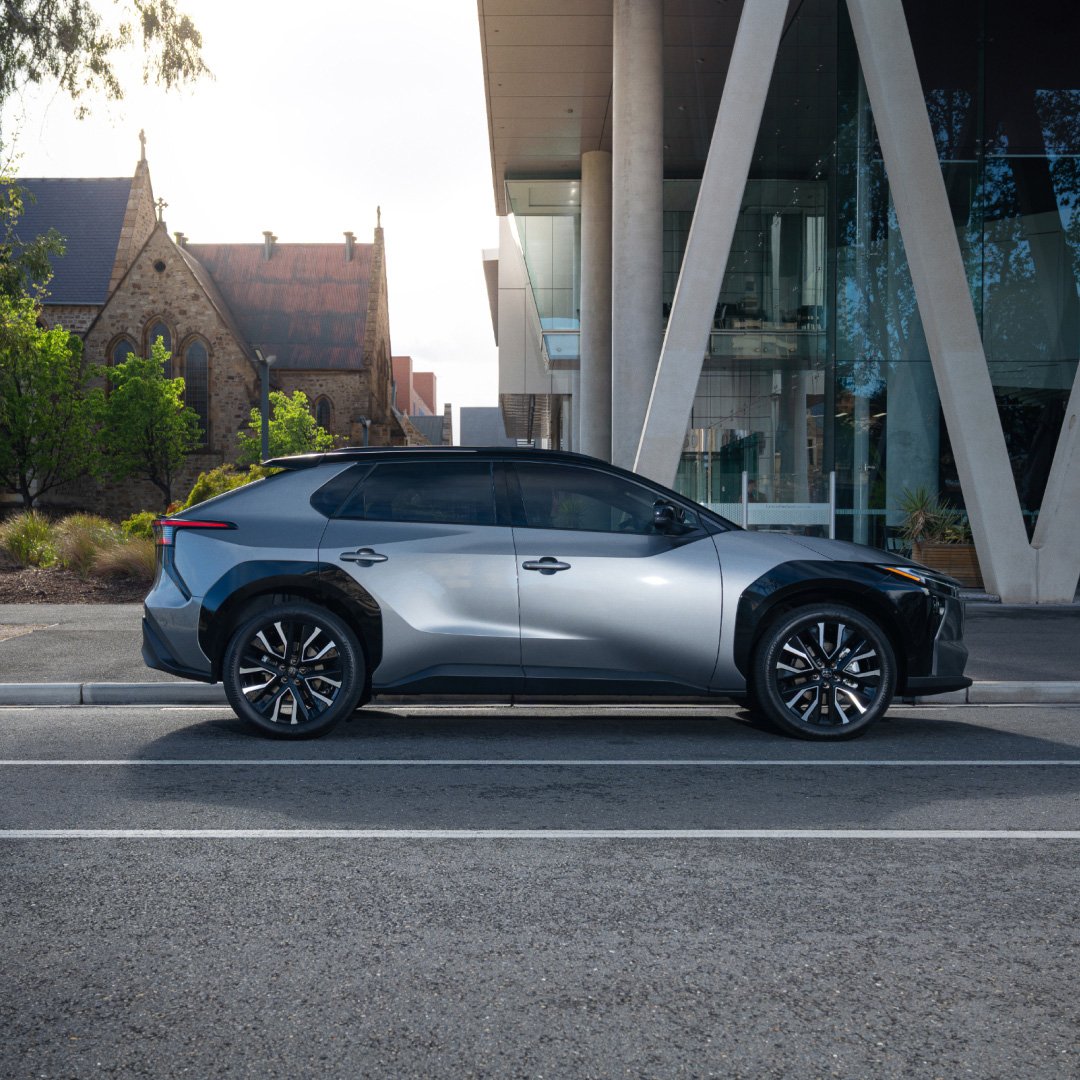
Style in motion
The bZ4X’s city swagger isn’t just owed to its looks. Glide through the city hustle in style, with the help of hands-free parking (Intelligent Parking Assist[S1]), Blind Spot and Panoramic View Monitors, Front and Rear Parking Sensors and a Rear Cross Traffic Alert system.

Expanded horizons
Go where you want to, not just where you need to, thanks to an improved range, AC charging speed and electric power steering (EPS). The AWD drivetrain serves up X-MODE, for adventures off road and off script.
Freedom to charge.
Receive a complimentary charging offer when you purchase a bZ4X and by joining our free loyalty program, Toyota Go. Choose between a 7KW JET Charge®[C11] AC wall charger (excludes installation costs) or a complimentary 12-month Chargefox[C11] subscription with nationwide access to DC and AC charging. Offer exclusively for Toyota Go members. Sign up here. T&Cs apply[E6].
- 2WD
- AWD
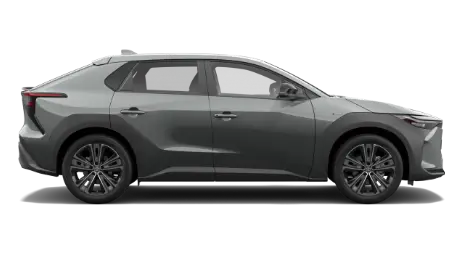
2WD
Experience an exhilarating blend of performance and power that also delivers on range. The All-Electric SUV redefines what's possible when innovation meets everyday practicality.
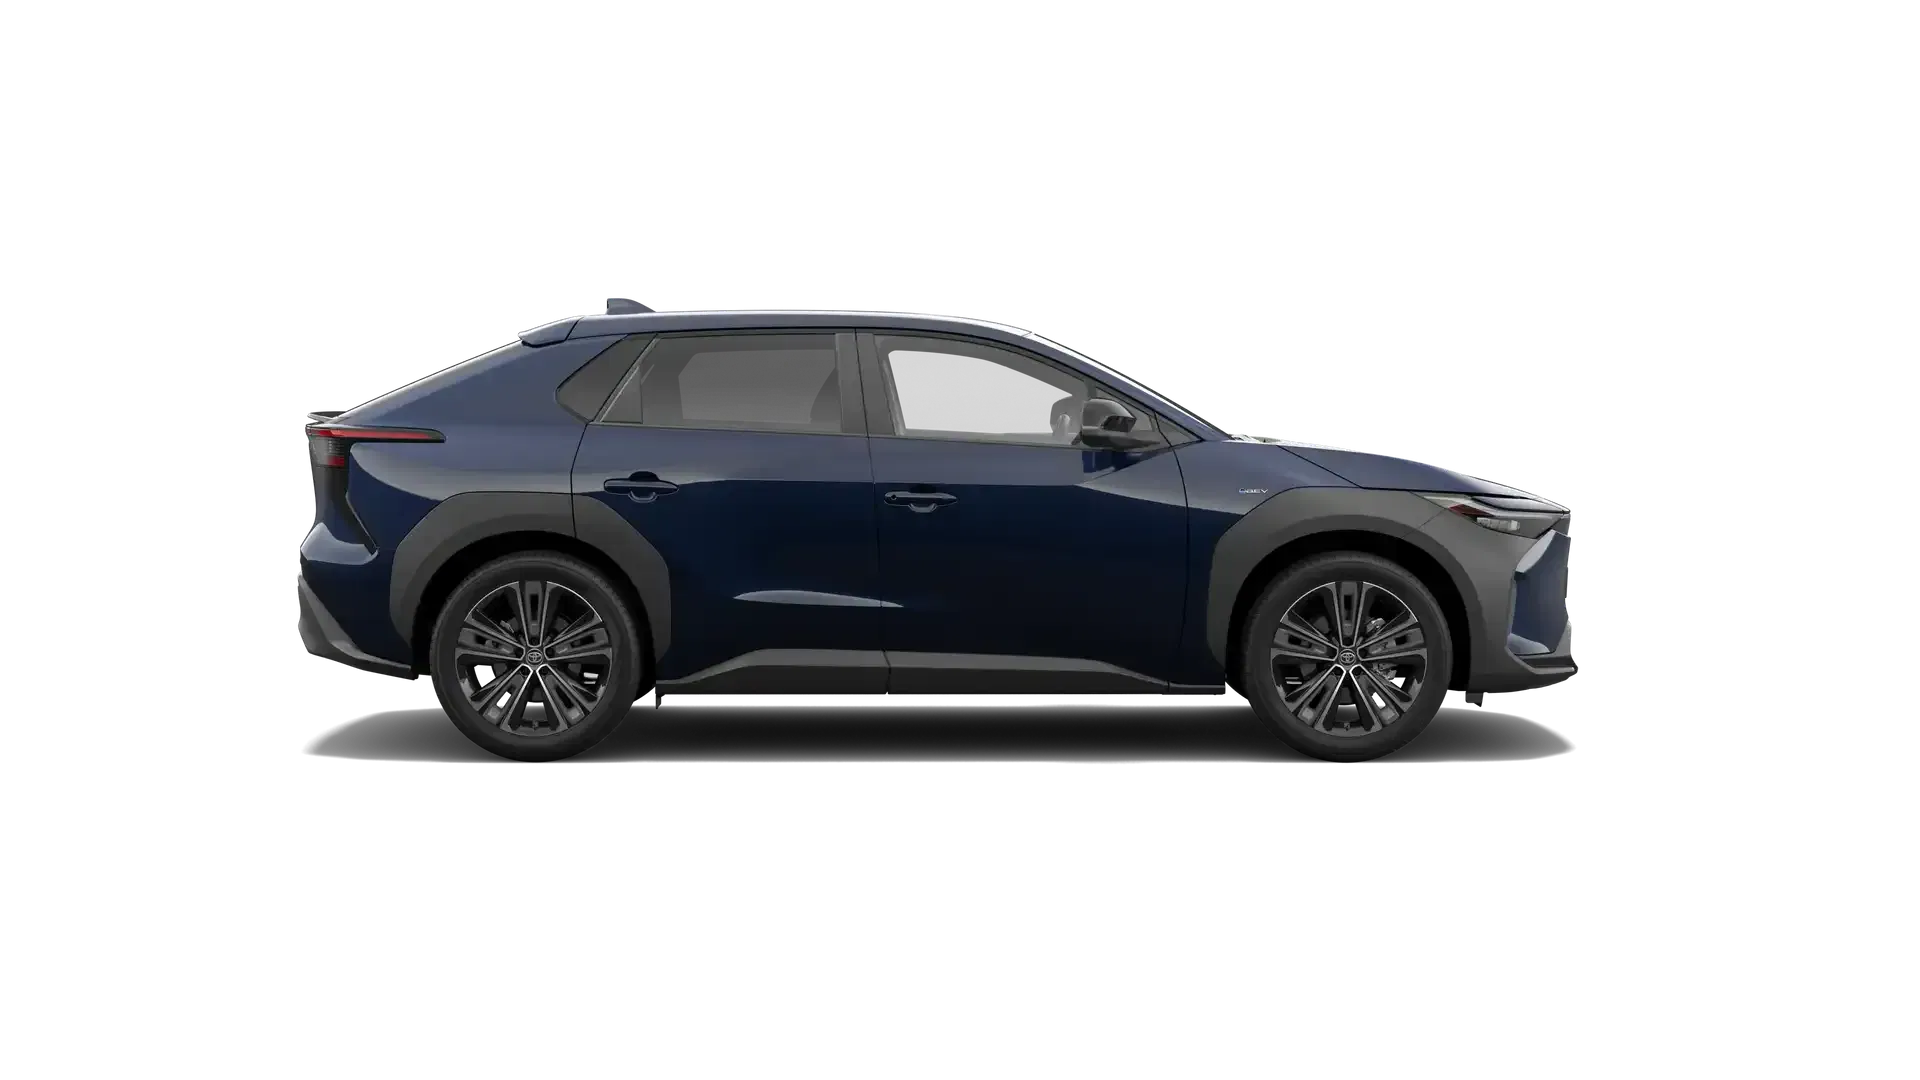
Colour:
Dynamic Blue
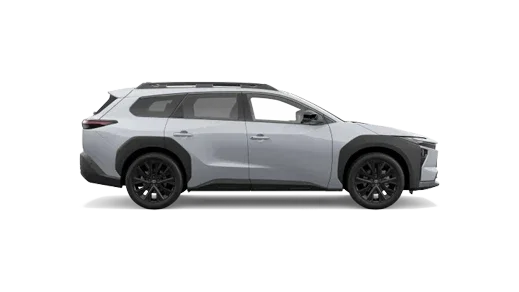
AWD
Explore the world fully charged. The All-Electric SUV AWD offers ultimate comfort with a panoramic sunroof, X-Mode for off-road performance and advanced technology for a more intelligent drive.
Colour:
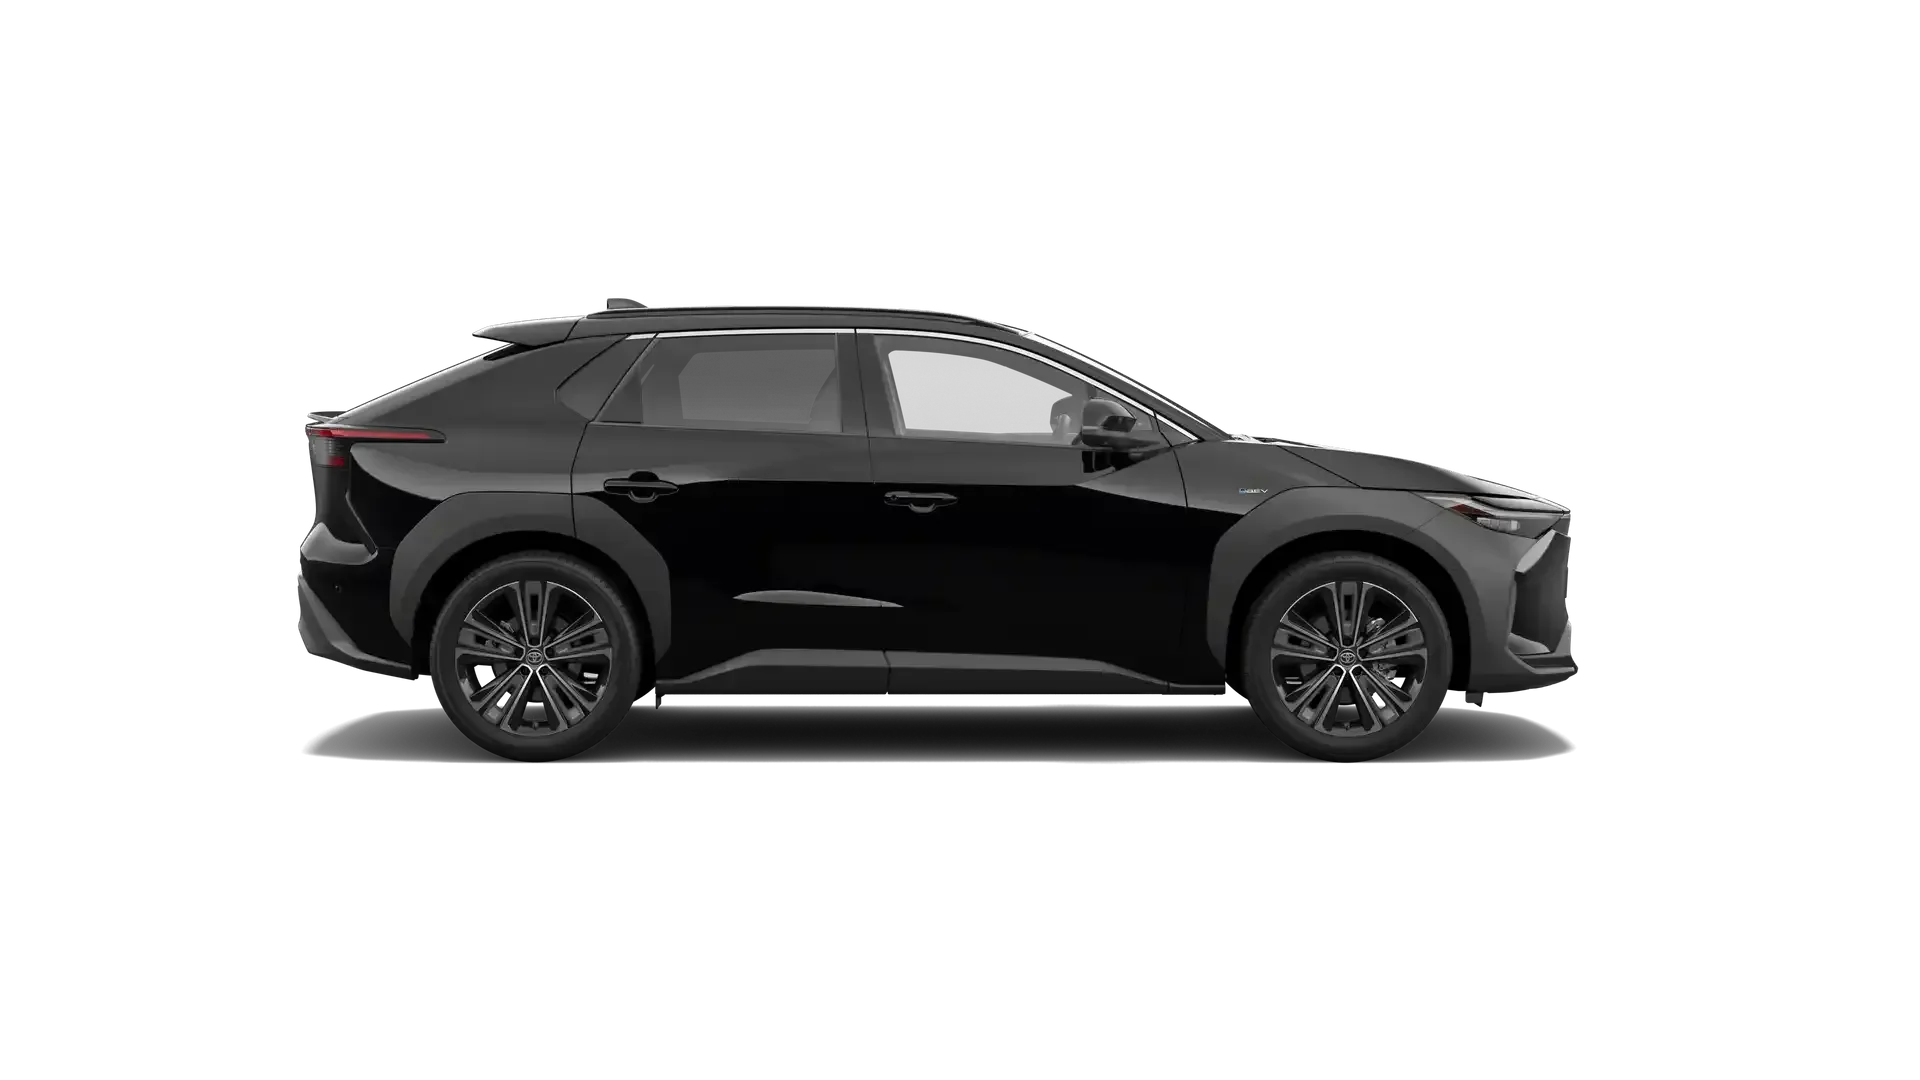
Ebony
Toyota Finance
Toyota Novated Lease
Want a convenient, tax-effective way to finance your bZ4X? Whether you’re a full-time or part-time employee, bundle your costs into one simple pre-tax payment with a Toyota Novated Lease. Learn more about the financial and lifestyle benefits and find out if you’re eligible.
Explore Novated Lease
Vehicle Specifications
2WD |
AWD |
|
Up to 591km[G66] Worldwide Harmonised Light Vehicles Test Procedure (WLTP) range* |
Up to 517km[G67] Worldwide Harmonised Light Vehicles Test Procedure (WLTP) range* |
|
Max power:
|
Max power:
|
|
Torque:
|
Torque:
|
*Actual driving range can be significantly less than test driving range, depending on various factors. To learn more about how different factors can impact range, please see our FAQs.
TOTAL POWER
74.7kWh
BATTERY TYPE
Lithium-ion
VOLTAGE
391.0V
IMPROVED FEATURES
Why you’ll love the bZ4X
When it comes to Electrified, more is more.

Bigger Range
Driving range has been bolstered on both 2WD and AWD drivetrains. 2WD has increased to 591km[G66] from 436km, and AWD to 517km[G67] from 411km. (Figures from WLTP lab testing, designed to simulate real world driving conditions.

Faster Charging
Maximum AC charging speed is now faster, with a maximum 11kW intake doubled to 22kW. 150kW DC charging time[G65] has also been shortened after upgrades to the battery’s heat management abilities. Check your state regulations for home charging limits, as these may vary.

Better Tech
Both grades come with a 14” touchscreen multimedia system, two wireless chargers, and four USB-C ports, two front and two back. Toyota Safety Sense[S1] introduces a Panoramic View Monitor with a digital rear view mirror on all AWD models.

Lasting Value
The bZ4X is built to last in Aussie conditions. The Toyota Service Advantage offers an extended 10-year traction battery warranty[W2] and capped price servicing[T4].
Electrified Adventures
See where the bZ4X could take you
- Local Trips
- Day Trips
- Weekend Journeys
Whether it’s a stroll along Circular Quay, browsing Paddington’s boutiques or a beachside walk in Bondi, the bZ4X makes short Sydney trips effortless. With a full charge before you set off, enjoy your day uninterrupted—local journeys require minimal top-ups. Need a recharge en route? Find charging locations here. here.
*Results may vary depending on specific conditions and driving habits.
The bZ4X is your perfect day trip adventure companion. From hiking at Mount Coot-tha to exploring the beaches of Bribie Island or the wineries of Tamborine Mountain, these scenic escapes are within reach from Brisbane CBD. Just in case you need a recharge en route, you can find charging locations here. here.
*Results may vary depending on specific conditions and driving habits.
Mountain ranges or a scenic ocean drive? Whether you like your weekends slowly caffeinated or as fast as the speed limit allows, discover the bZ4X’s range when exploring Victoria. If you do need to charge up en route, you can find charging locations here.
*Results may vary depending on specific conditions and driving habits.
132 km
Round trip from Melbourne CBD to Healesville
168.4km
Round trip from Melbourne CBD to Geelong
121km
Round trip from Melbourne CBD to Mount Martha
This estimate is for illustrative purposes only and may not be replicable. Estimated range is based on travel along a specific route under optimal conditions. This illustration assumes a single continuous trip without additional stops, starting with a fully charged battery. This estimate is based on moderate driving behaviour, and standard vehicle load (up to four passengers, without fitment of accessories/customisation and no towing or heavy cargo) and minimal use of climate control and media systems. Actual driving range may vary significantly due to various factors such as battery age and condition, driving style, speed, terrain, traffic conditions, weather, climate, use of heating/cooling, accessories fitted and vehicle load. To learn more about how different factors can impact range, please see our FAQs http://toyota.com.au/electrified/faqs. Charging stops may be necessary depending on your specific route and driving behaviour.

An Electrified lifestyle experience
Let your curiosity drive you in the Toyota bZ4X with an extended, take-home test drive. See how an electric vehicle plugs into your lifestyle and have all of your questions answered by a Toyota Dealer[D1].
Book a Test Drive
Only available at participating Toyota dealerships. For more information including terms and conditions, click here or speak to your preferred Toyota Dealer.
Charging
Is it easy to charge a bZ4X?
Charging your bZ4X is designed to fit seamlessly into your routine. Plus, every bZ4X purchase includes a complimentary 7kW JET Charge®[C11] AC wall charger[E1] suitable for both indoor or outdoor use, to be installed by a licensed electrician[M1] (installation costs not included).
- Local Trips
- Home and Public
- Public
Mode 2
Home powerpoint charger
How it works
Charge by plugging your vehicle straight into a standard Australian wall powerpoint.
Charging time
Approx. 90 minutes for up to 100km range (NEDC)[G65] 10-100% in approx. 21 hours[G65]
Charging cable
Mode 2 cable (5m) included with all Toyota BEV Toyota vehicles.
Mode 3
Dedicated AC wall charger
How it works
Charge at a public AC charger (Mode 3) or at home with a dedicated AC wall charger (Mode 3).
Charging time
10–100% in approx. 3.5 hours, with 22kW three-phase charging in an ambient temperature environment[G65].
Charging cable
Mode 3 cable included with all BEV Toyota vehicles.
Mode 4
DC 150kW fast charging
How it works
Charge at DC public fast chargers known as ‘DC Rapid’ and ‘Ultra Rapid’ at bigger shopping centres and selected fuel stations (Mode 4).
Charging time
10-80% in approx. 35 minutes, in a 25℃ environment[G65][GB2]
Charging cable
Mode 4 public DC fast chargers generally include a charging cable.

Finding a charger near you
Australia has a growing number of charging stations, which means a full battery is never far away.
Book a Test DriveTECHNOLOGY
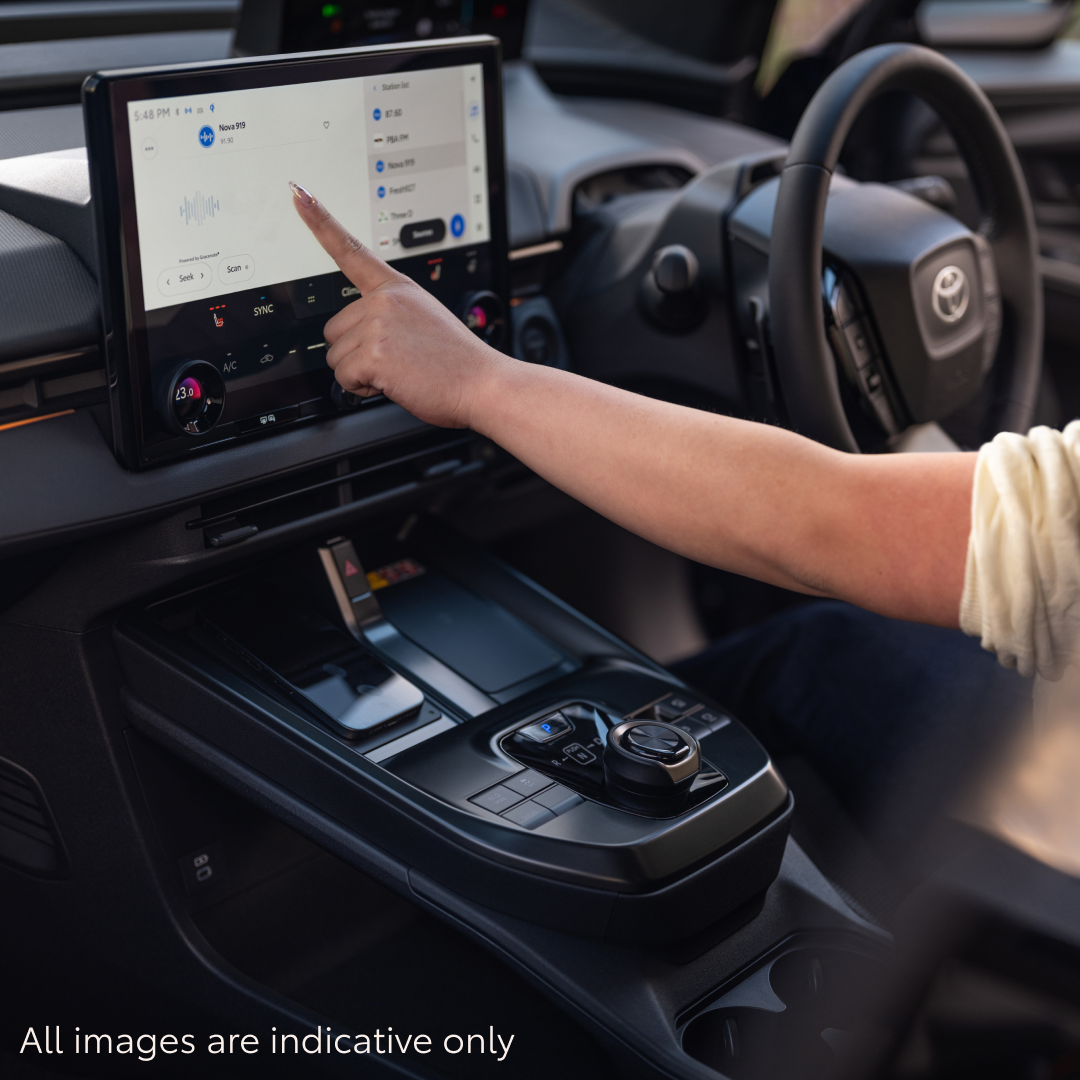
It feels second nature
The Toyota bZ4X comes with all the intuitive technology you’d expect, along with new features that make a drive feel so natural, you’ll wonder what you ever did without them.
All images are indicative only.

14” touchscreen and multimedia system
A large crisp touchscreen with built-in navigation, 6 speakers in 2WD, or a 9-speaker JBL Premium Sound System in AWD, plus smartphone connectivity via Wireless Android Auto™[C13] and Apple CarPlay®[C12].

Enhanced voice control
“Hey, Toyota. Let’s get loud!” Use enhanced voice-commands with Connected Voice Assist. Access navigation[CS14], vehicle features, connected smartphone apps, music, podcasts and more. That’s convenience that speaks volumes.

Hands-free parking
At the touch of a button, Intelligent Park Assist[S1] uses the Panoramic View Monitor and ultrasonic sensors to park your bZ4X. Particularly good for those prickly parallel parking spots.
Toyota Connected Services
Owning a Toyota should be easy, enjoyable and safe. That's why every new model bZ4X is equipped with Toyota Connected Services, with 1-year complimentary access[CS14], providing you with convenient remote features, connected navigation, connected voice command as well as safety and security features that keep you in touch with help when you need it.
Book a Test Drive
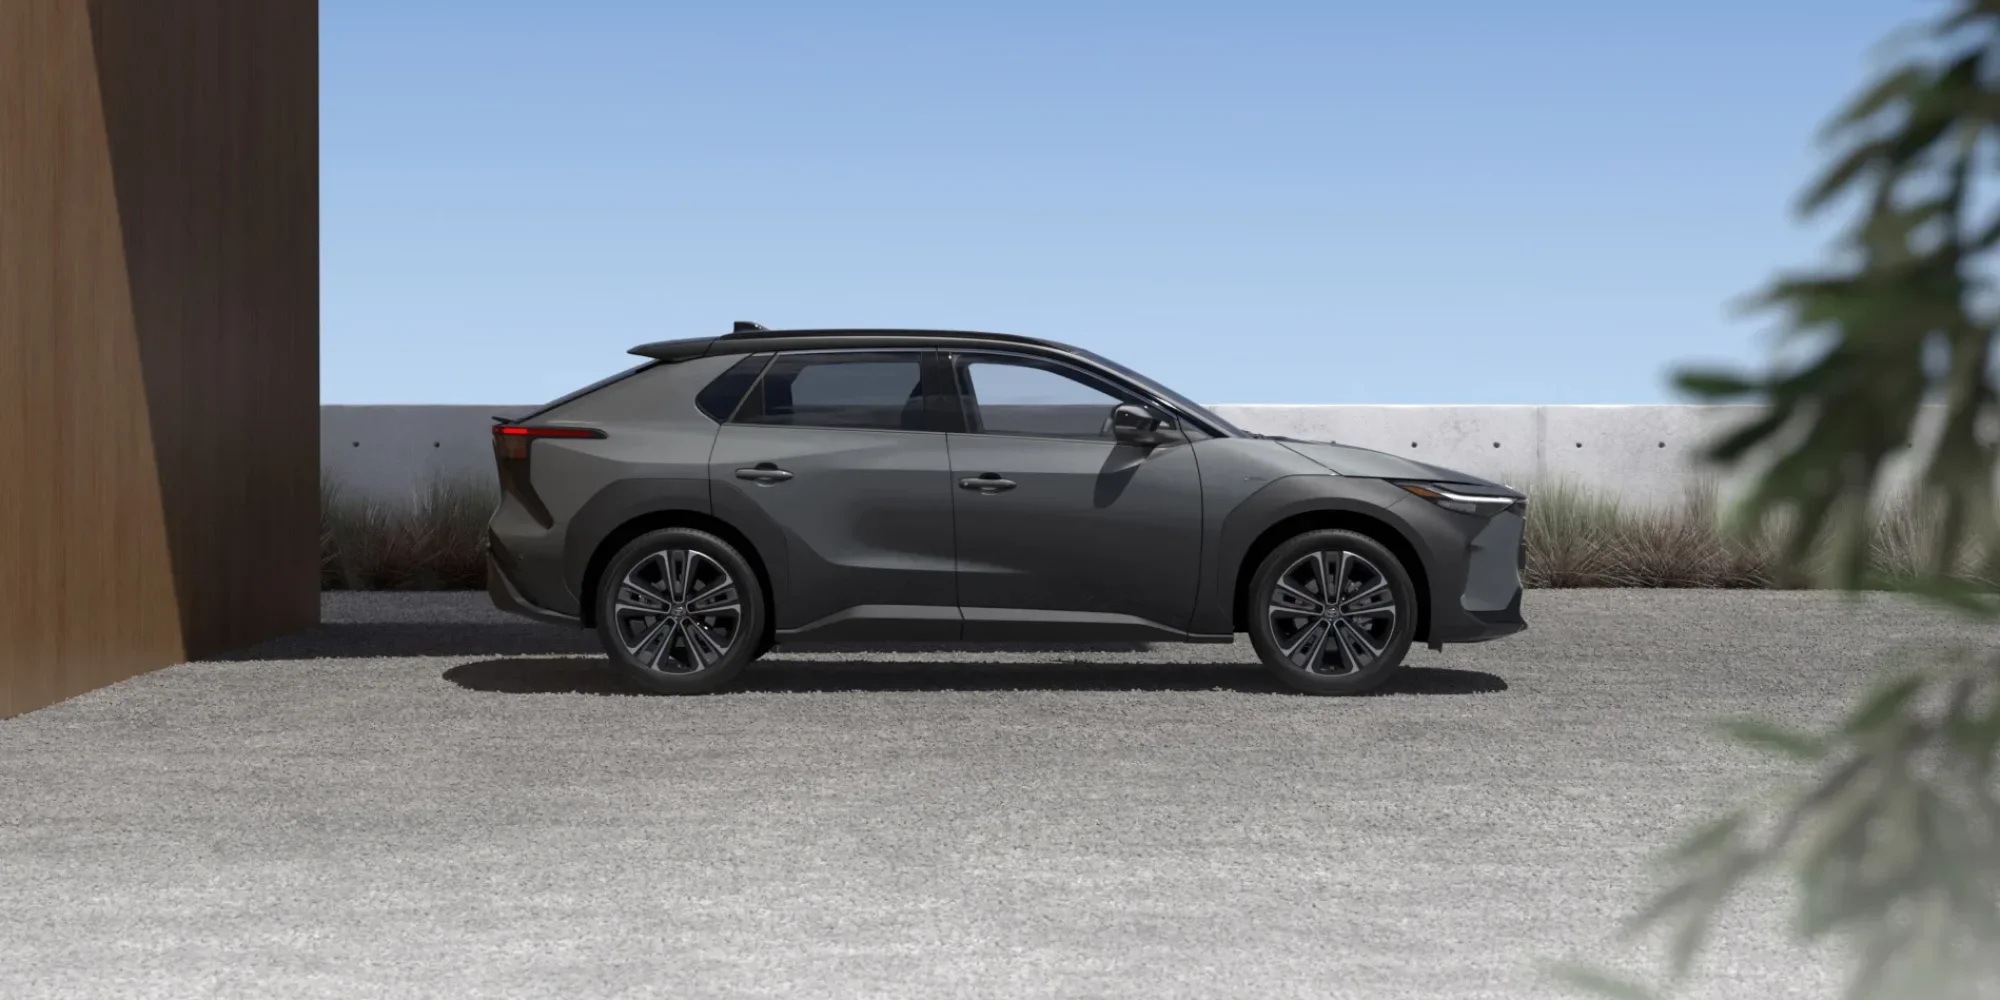
DESIGN
Designed for a life without compromise
The bZ4X is more than just a means to travel between your worlds—it’s an extension of them.
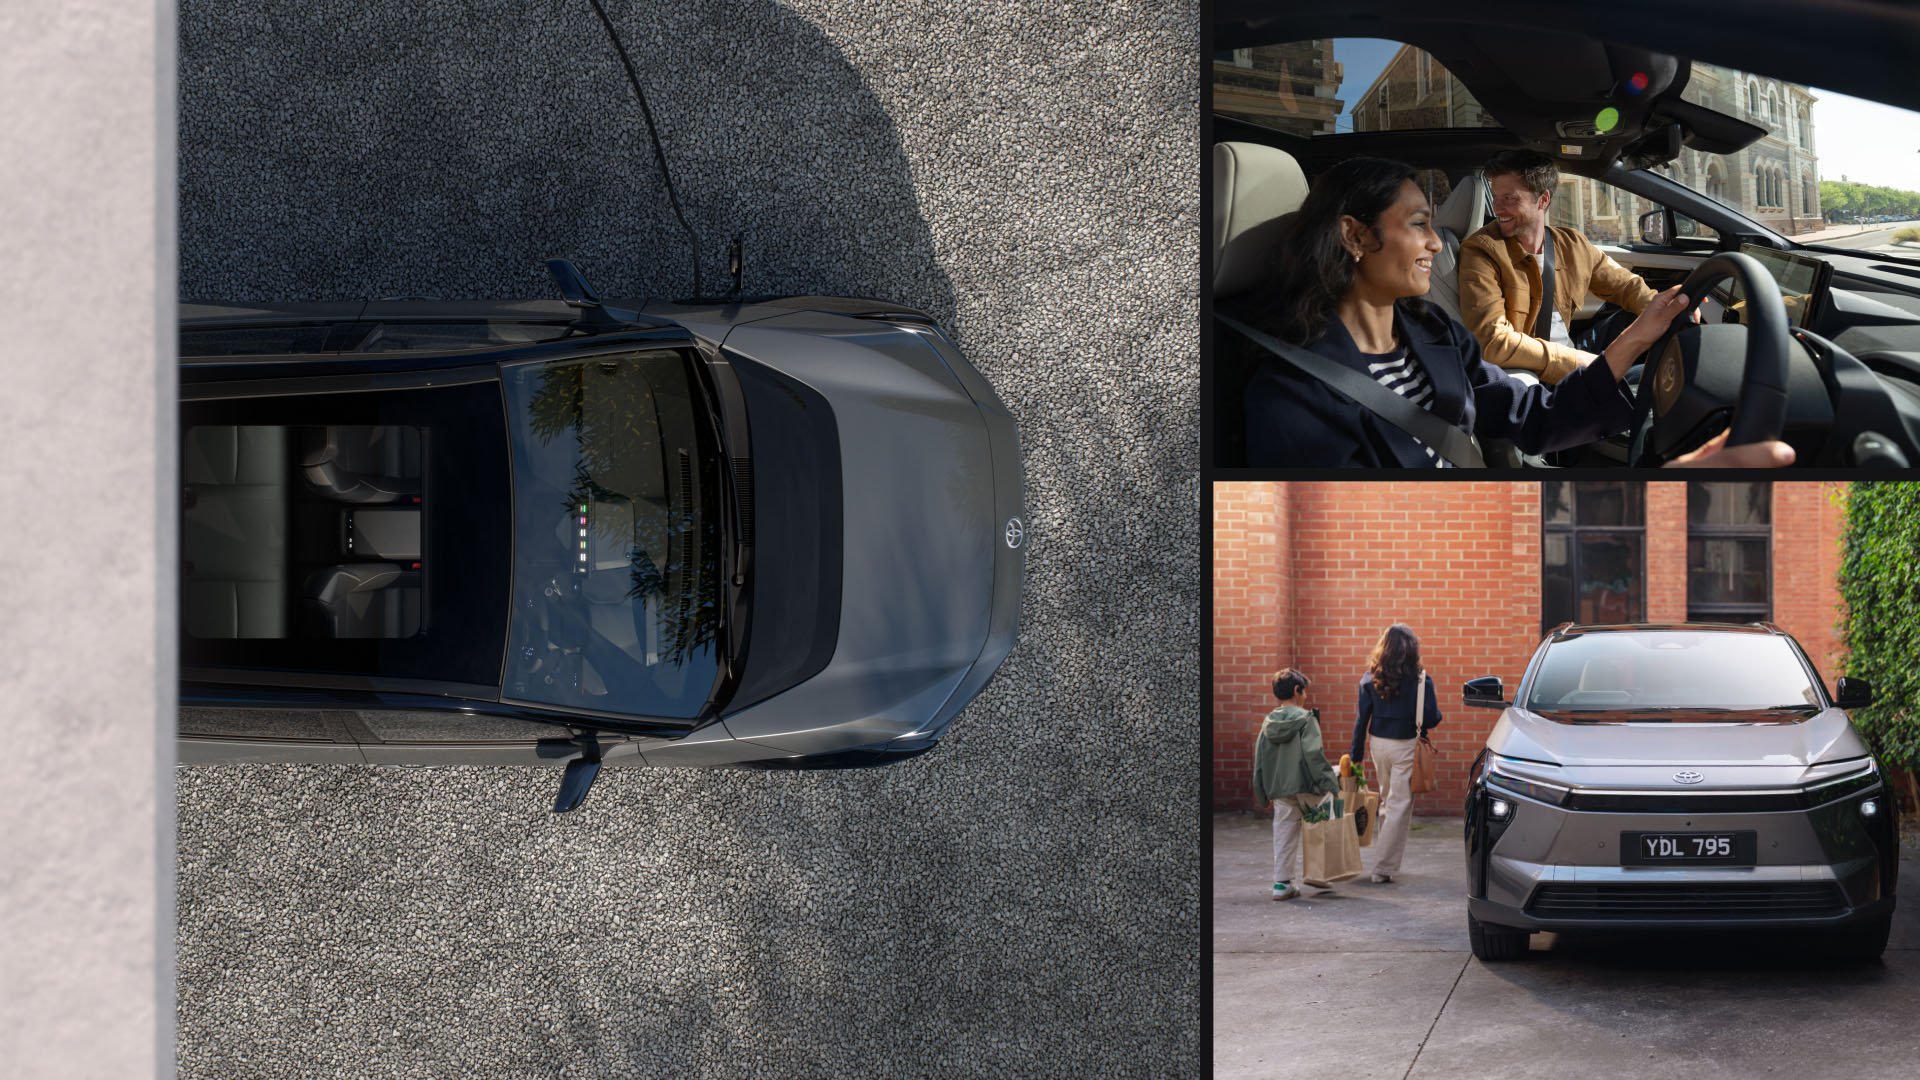
Spacious and comfortable inside
The bZ4X feels roomy and plush, thanks to an SUV-size cabin with generous fabric seating with synthetic leather trim (2WD), or full-synthetic leather seating (AWD), complete with 422L of boot space.
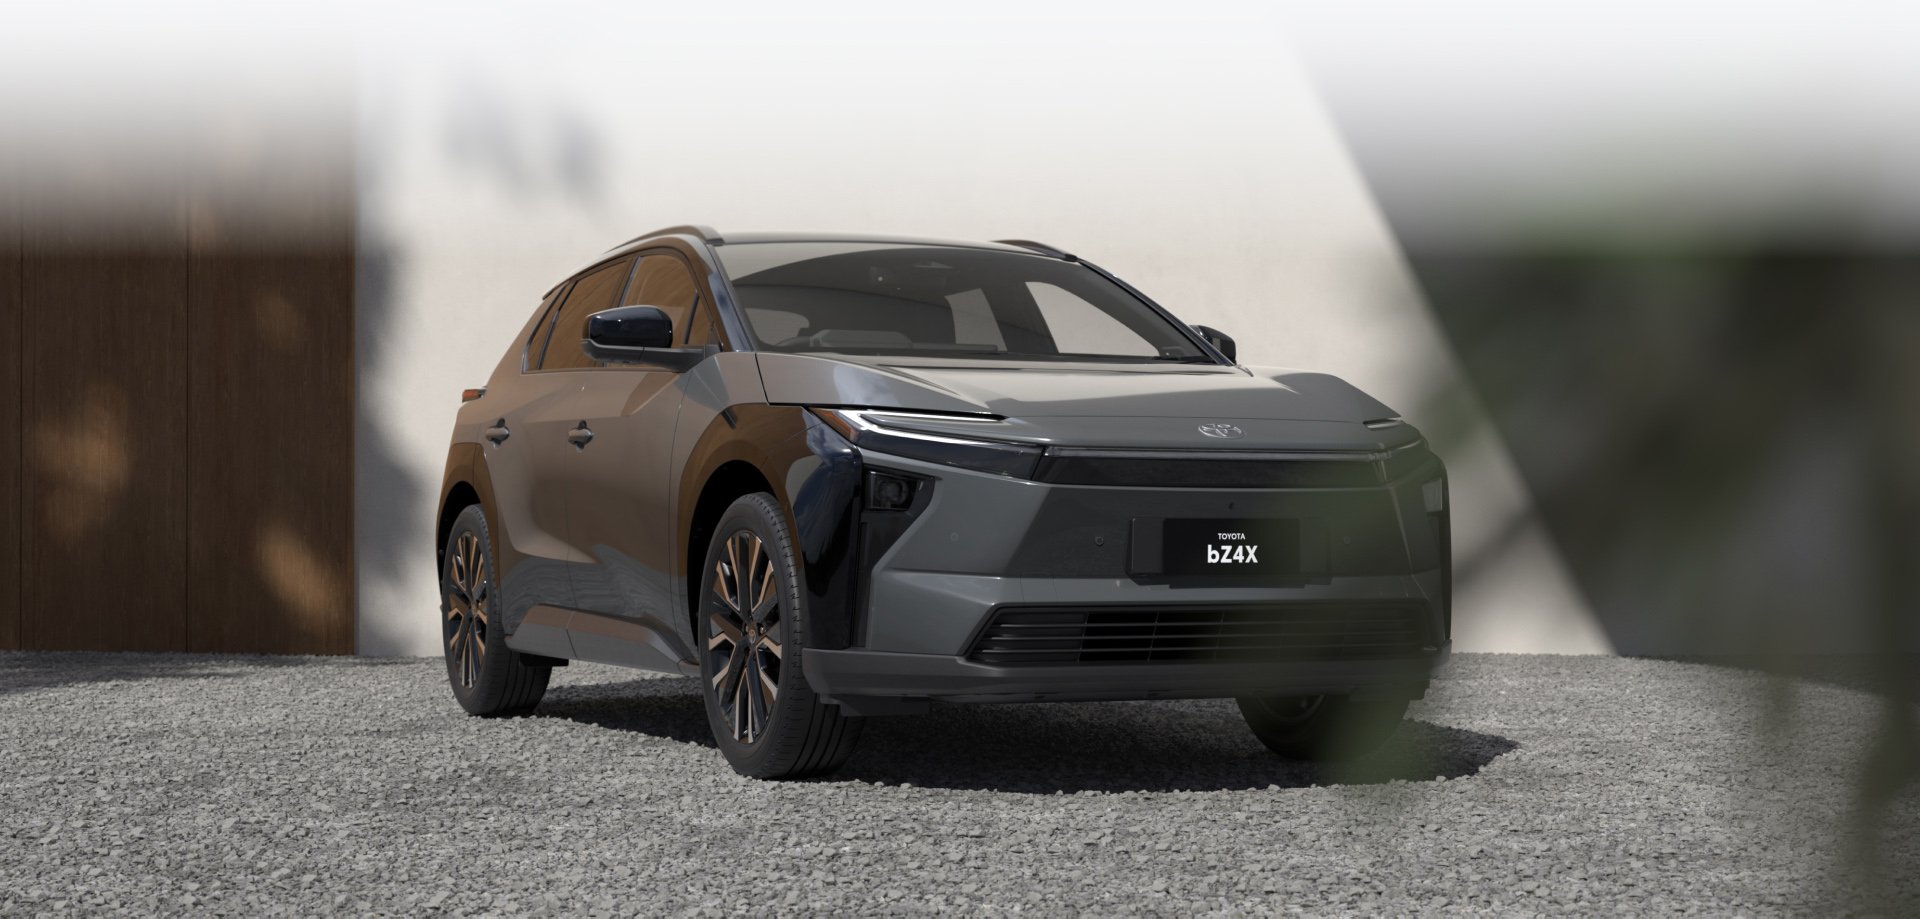
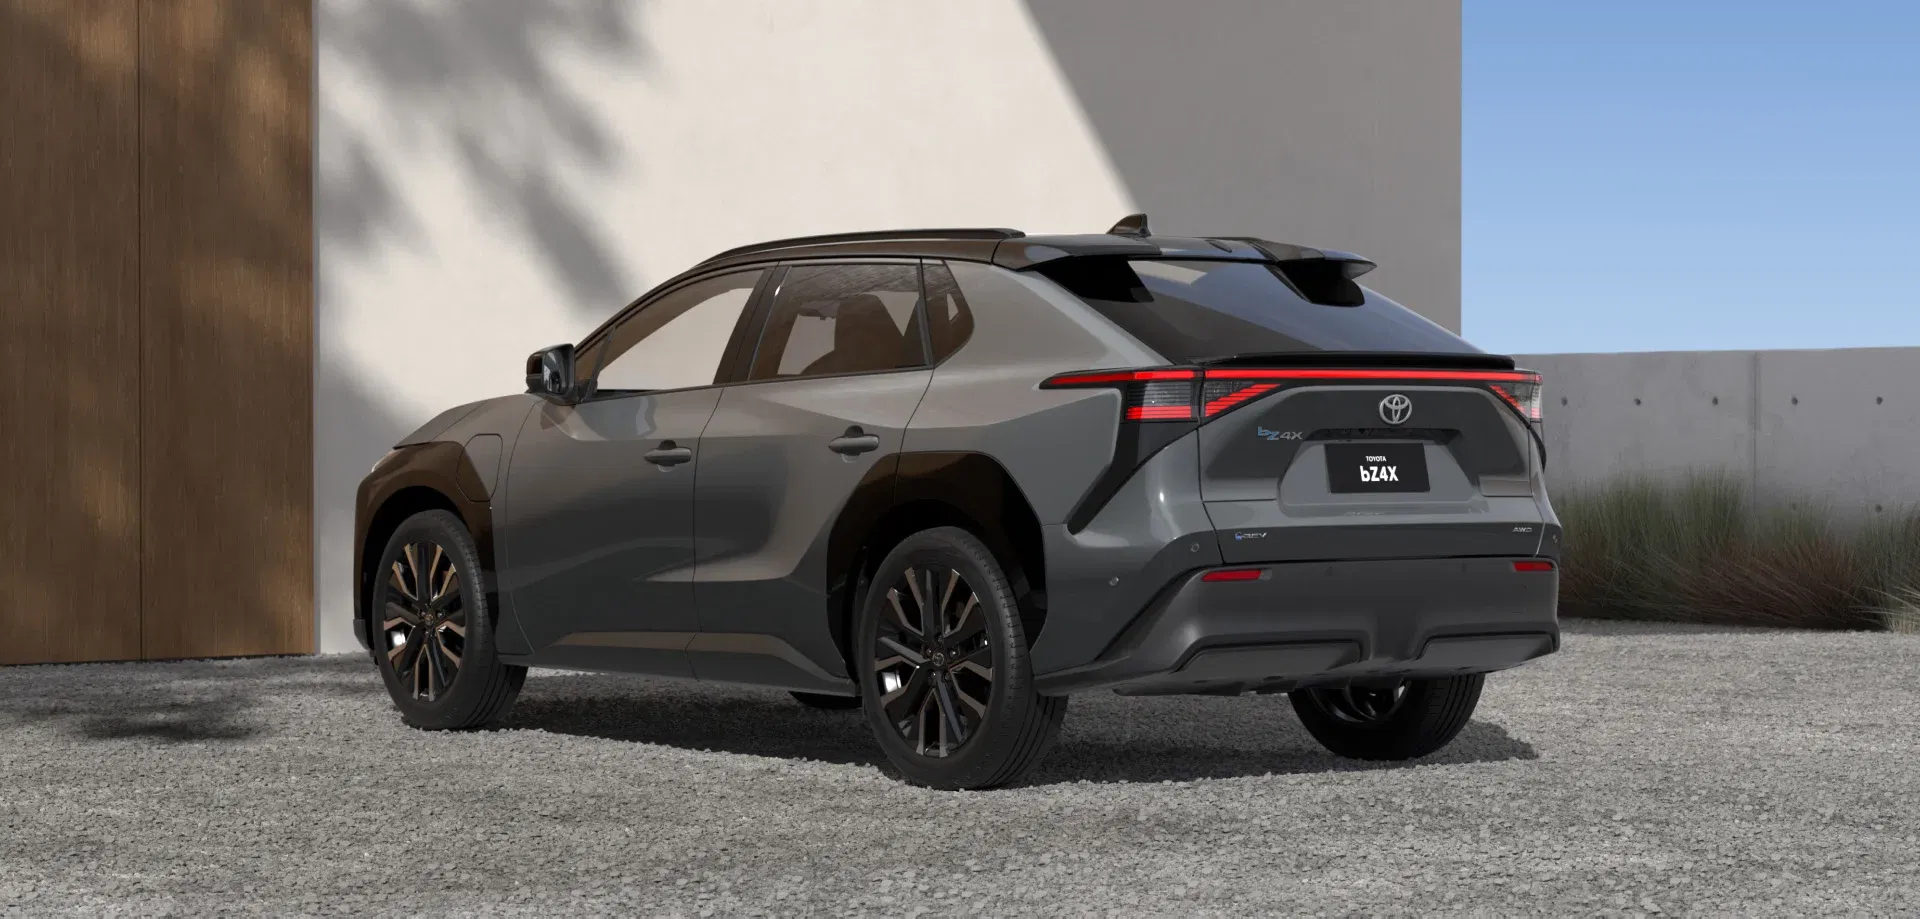
Slick and sporty outside
Slim LED headlamps trace the sharply sculpted hammerhead face, complimenting a chic outer shell, with a wide lower bumper completing a look of robust luxury. It’s all further enhanced by a panoramic roof, aerodynamic roof rails and a rear ducktail spoiler.
TOYOTA GENUINE ACCESSORIES
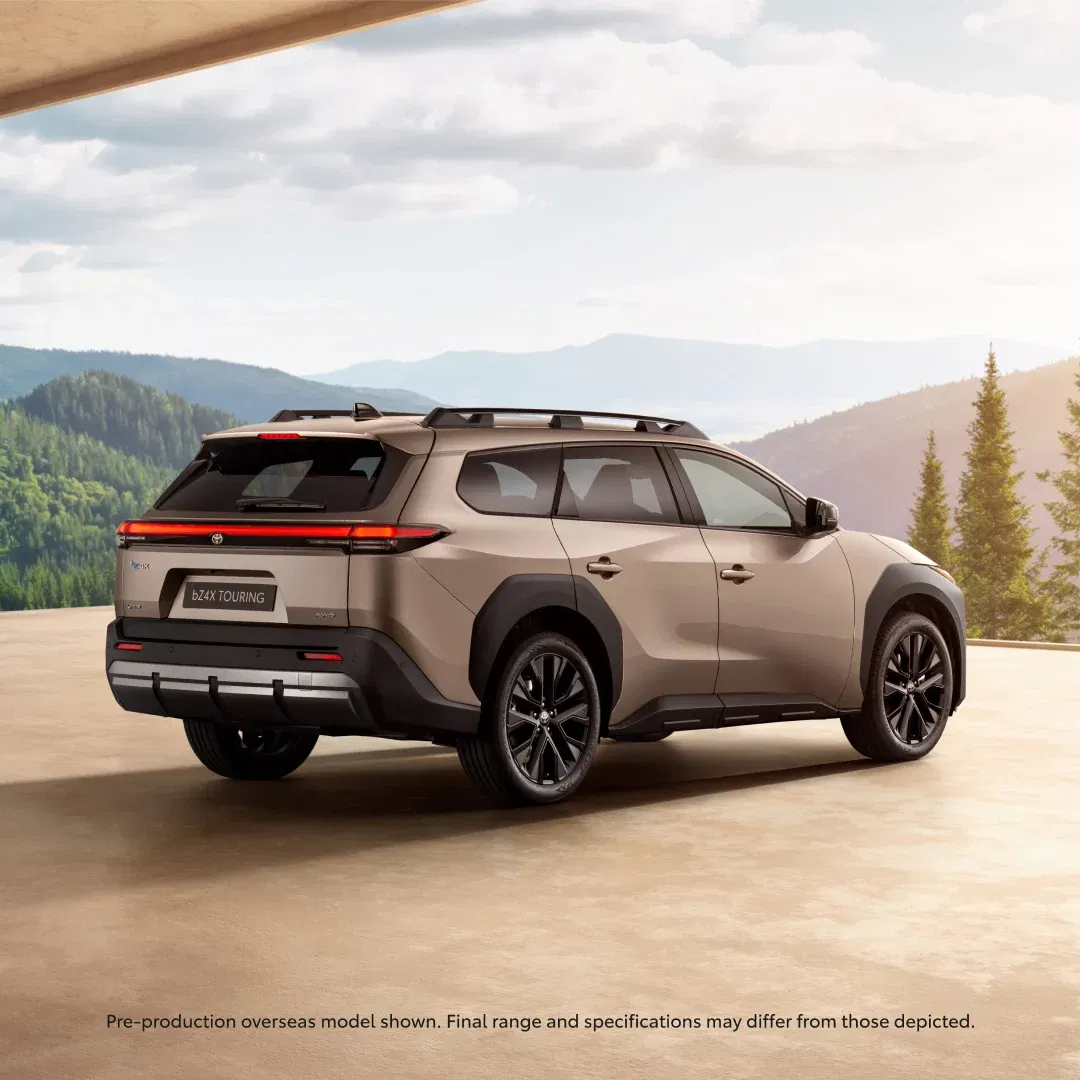
Gear up for off-grid
Personalise your Toyota bZ4X with Toyota Genuine Accessories[P4] and make the most of your time outside the grind. From bicycle, ski and kayak carriers for your Toyota bZ4X AWD, to protective add-ons across both models, there’s an accessory to suit your lifestyle.
View accessoriesSAFETY
Safety for the road ahead
The bZ4X is equipped with the latest Toyota Safety Sense technology, a sophisticated suite of safety and security features designed to help protect you and your passengers[S1].
Pre-Collision Safety System & Emergency Driver Stop System
The Pre-Collision Safety System[S1] is designed to detect potential collision hazards. If the Emergency Driver Stop System determines that there's a possibility of a collision, it can warn the driver and forcibly apply the brakes.
Lane Departure Alert & Lane Trace Assist
Lane Departure Alert and Lane Trace Assist offer proactive steering support and audible alerts to help make lane changes smooth and reduce the risk of collision[S1].
Battery safety technology
The 74.7kWh lithium-ion battery in the bZ4X is designed for safety, tested rigorously, and features a unique design that includes multiple monitoring systems.
Panoramic View Monitor
The Toyota Panoramic View Monitor offers a 360° view, designed to enhance visibility and precision for safer parking and navigation[S1][J12].
Driver Monitor Camera with EDSS (Emergency Driver Stop System)
If the system fails to detect driver input for some time, audible warnings will alert the driver. If no further inputs are detected, the system brings the vehicle to a gradual stop while keeping it safely in lane[S1][J11][J12].
Blind Spot Monitor & Safe Exit Assist w/ RCTA (Rear Cross Traffic Alert)
Using the bZ4X’s rear parking sensors, Rear Cross Traffic Alert is designed to alert you when vehicles are approaching while you’re reversing, using radar to detect approaching vehicles before you can see them[S1][J12].
bZ4X FAMILY
“The design concept for bZ4X is an 'activity hub' to bring family and friends closer together, connecting them with their new battery electric lifestyles."
Masaya Uchiyama, Chief Engineer
OWNERS
There’s never been a better time to own a bZ4X
We’re committed to giving you the best of Toyota. Plus every new bZ4X comes with capped price servicing[TS4].
Genuine Parts
Toyota Genuine Parts are built to the same high standards as your vehicle for seamless integration. Protect your warranty and performance – find Toyota Genuine Parts at your local Dealer.
Toyota Finance
From loans and novated leasing to financing a fleet, browse our finance range and discover products and solutions that work best for you.
Toyota Insurance
Nothing protects your Toyota better than insurance made especially for it, designed by the people who know your Toyota best.

Warranty Advantage
New vehicles (excluding vehicles used for commercial purposes) are protected by our five-year unlimited kilometre warranty[W8].
Fuel your momentum with Toyota Go. If you’re a Toyota owner, you can access valuable rewards, manage your vehicle, book a service and save on fuel with Ampol Foodary. No Toyota? No worries, you can still access selected perks.
Book a Test Drive
Ready to charge on?
A better tomorrow
Find out how battery electric powertrains are delivering zero CO2 tailpipe emissions in a new era of electrified performance.
Knowledge is power
Learn more about Electrified driving ranges, costs, charging, maintenance and more with helpful FAQs for your peace of mind.
Disclaimers
[C11] Product & company names are trademarks of their respective owners.
[C12] CarPlay® is a trademark of Apple, Inc. registered in the U.S. and other countries. Speak to your Dealer about device compatibility. Requires compatible device, USB connection (or Bluetooth® connection for vehicles fitted with wireless CarPlay®), mobile data, network reception & GPS signal. Mobile usage at user’s cost. Apps subject to change. For details see toyota.com.au/connected.
[C13] Android Auto™ is a trademark of Google LLC. Requires compatible device, USB connection (or Bluetooth® connection for vehicles fitted with wireless Android Auto), mobile data, network reception & GPS signal. Mobile usage at user’s cost. Apps subject to change. For details see toyota.com.au/connected.
[CS14] Different complimentary periods apply depending on the package and enabled DCM. Fees may apply thereafter. See Toyota.com.au/connected/plans-packages. Not available outside Australia, if services disabled or terminated or after Telstra 4G or 5G sunset (depending on the applicable DCM fitted to the vehicle). Dependant on 4G/5G enabled DCM, GPS signal strength, mobile network coverage and other factors outside Toyota’s control which can limit ability or functionality of system. Features vary depending on vehicle model, DCM and subscription choice, and are subject to change. Check your Owner’s Manual or www.toyota.com.au/connected for explanation of limitations. Please drive safely.
[D1] T&Cs apply. See https://www.toyota.com.au/bz4x-ev/terms-conditions. Ends: 30 November 2025. Offer is only for approved participants and only available at participating authorised Toyota Dealerships. Subject to availability. Duration of test drive to be agreed with participating dealership.
[E1] Complimentary ABB Single Phase 7kW AC wall charger supplied by JET Charge Pty Ltd. Installation not included. Electricity consumption charges are owners responsibility. Refer to operating instructions for usage guidance. Upgrades and equipment add-ons at additional cost. Rainchecks not available. Cannot be redeemed for monetary value. See jetcharge.com.au for T&Cs.
[E6] Complimentary JetCharge Home Charger or 12-month Chargefox Charging Subscription (capped at 625kWh) for eligible customers who purchase a new 2025 & 2026 production BTC Toyota bZ4X (2WD & AWD) between 10 December 2025 – 31 December 2026. Private customers only. Must take delivery of vehicle, add it to Toyota Go 'garage' by 31 January 2027, and redeem offer within 60 days of adding vehicle. Subject to availability and while stocks last. Requires Toyota Go account. Cannot be redeemed for monetary value. Subject to third-party terms. See to https://toyota.com.au/policies/promotions/bz4x-charging-offer for full Offer T&Cs.
[G6] Maximum vehicle braked towing capacity is subject to state and federal regulatory
requirements. Before towing, customers should consider the vehicle’s limitations, including towing capacity
specifications, gross vehicle mass (GVM), gross combined mass (GCM), kerb weight specified by the
manufacturer, and ensure that individual front and rear axle load limits are not exceeded as also specified
by the manufacturer.
Vehicle payload calculation is GVM less kerb weight or as otherwise
specified in the vehicle owner’s manual. Actual payload is affected by any added load to the vehicle,
including the number of occupants, luggage, accessories, and tow ball download weight. It is important to
consider the actual payload, to ensure the fully loaded vehicle remains within the specified GVM
limits.
For more details, please refer to the vehicle’s Owner’s Manual or
toyota.com.au/basic-towing-guide or consult your authorised dealer.
[G65] Charging times are indicative and may vary depending on environmental and charging conditions, type of charger and method used. Actual charging times may differ. Frequent use of DC Fast Charging can impact battery performance & durability. Toyota recommends minimising DC Fast Charging usage. DC fast charging speed will reduce after the battery is charged to 80%. Refer to Owner's manual and toyota.com.au/explore/electrified/charging-your-toyota for guidance.
[G66] Results were achieved under test conditions and do not reflect the driving range in real world driving. Results achieved for Battery Electric bZ4X 2WD Automatic SUV is based on consumption rate of 138Wh/km using the Worldwide Harmonised Light Vehicle Test Procedure (WLTP) accepted by the ADR 81/02 (displayed on the Energy Consumption label affixed to the car). The electric range and the energy consumption values were determined using a fully charged battery in a laboratory test and are not reflective of real-world driving. Actual driving range may vary depending on accessories fitted, battery age and condition, climate, driving style, use of heating/cooling, traffic conditions, and vehicle load. For more information, please visit Toyota.com.au/explore/electrified/faqs
[G67] Results were achieved under test conditions and do not reflect the driving range in real world driving. Results achieved for Battery Electric bZ4X AWD Automatic SUV is based on consumption rate of 160Wh/km using the Worldwide Harmonised Light Vehicle Test Procedure (WLTP) accepted by the ADR 81/02 (displayed on the Energy Consumption label affixed to the car). The electric range and the energy consumption values were determined using a fully charged battery in a laboratory test and are not reflective of real-world driving. Actual driving range may vary depending on accessories fitted, battery age and condition, climate, driving style, use of heating/cooling, traffic conditions, and vehicle load. For more information, please visit Toyota.com.au/explore/electrified/faqs
[J11] All images indicative only and not to scale.
[M1] Stock availability and suitability to your vehicle should be confirmed at the time of ordering with your Toyota dealer. To the extent permitted by law, Toyota Australia will not be liable for any damage or loss incurred in relation to third party products (whether by way of negligence or otherwise). Toyota Motor Corporation Australia Limited ABN 64 009 686 097 155 Bertie St, Port Melbourne Vic 3207
[P1] Recommended driveaway price (RDP) shown is based on a vehicle with optional features or paint finishes (if selected), garaged at the postcode entered, and includes 12 months registration, 12 months compulsory third party insurance (CTP), maximum dealer delivery charge and stamp duty. Please note actual driveaway price may differ based on your delivery location, applicable statutory charges/taxes, and CTP requirements etc. in your state/territory. Toyota Australia reserves the right to vary or discontinue the current interior and exterior colours, trims and colour/trim/model combinations. Colours and trims displayed are a guide only and may vary from actual colours due to printing/display process. See your Toyota dealer to confirm availability when ordering your vehicle.
[P4] See your Toyota dealer to confirm Toyota Genuine Accessories suitable for your vehicle
prior to ordering, as specifications, applicability, availability and fitment requirements may change over
time. Consider combined mass of load and accessories to ensure gross vehicle mass limits are not exceeded.
Refer to toyota.com.au/vehiclepayload for information. Fitment of certain accessories may require
recalibration, relocation or removal of standard equipment (which may be retained by Toyota) and may require
the purchase of add-ons (such as installation kits).
Toyota Australia uses its best endeavours to
ensure material is accurate at the time of publishing.
Colours depicted are a guide only and may
vary from actual due to the print/display process. Toyota Australia reserves the right to change and/or
discontinue, without notice, prices, colours, materials, equipment and specifications. To the extent
permitted by law, Toyota Australia will not be liable for any damage or loss incurred from relying on the
information and images contained in this material.
[S1] Driver assist feature. Only operates under certain conditions. Check your Owner's Manual for explanation of limitations. Please drive safely.
[T4] The standard Toyota Warranty Advantage period is 5yrs, with unlimited kms, from delivery. Excludes vehicles used for a commercial purpose, such as taxis, hire vehicles and vehicles transporting people or goods for payment including rideshare. The commercial vehicle Toyota Warranty Advantage period is 5 years from delivery or 160,000kms (whichever occurs first). See toyota.com.au/owners/warranty or your vehicle’s Warranty and Service Book for T&Cs. This warranty does not limit and may not necessarily exceed your rights under the Australian Consumer Law.
[TS4] Applies to standard scheduled logbook servicing (normal operating conditions) for a nominated number of months/kilometres (whichever occurs first) up to a nominated maximum number of services. Excludes Rental vehicles. For details see your Toyota dealer or visit toyota.com.au/advantage.
[W2] The Toyota Warranty Advantage Extended Engine/Traction Motor and Driveline coverage is for 7yrs from first delivery, provided your vehicle is properly serviced and maintained per its Warranty and Service Book. Excludes vehicles used for a commercial purpose, such as taxis, hire vehicles and vehicles transporting people or goods for payment including rideshare. See toyota.com.au/owners/warranty for details. This warranty does not limit and may not necessarily exceed your rights under the Australian Consumer Law.
[W8] The standard Toyota Warranty Advantage period is 5yrs, with unlimited kms, from first delivery. Excludes vehicles used for a commercial purpose, such as taxis, hire vehicles and vehicles transporting people or goods for payment including rideshare. The commercial vehicle Toyota Warranty Advantage period is 5 years from delivery or 160,000kms (whichever occurs first). See toyota.com.au/owners/warranty or your vehicle’s Warranty and Service Book for T&Cs. This warranty does not limit and may not necessarily exceed your rights under the Australian Consumer Law.
[W17] Associated Accessory Products supplied by Toyota have different warranty periods depending upon manufacturer's specifications. T&C's apply. Visit https://www.milford.one/warranty for details. This product is not warranted by Toyota. These warranties do not limit & may not necessarily exceed your rights under the Australian Consumer Law.